VHBESTJACK Installation Manual
1°¢Preparation
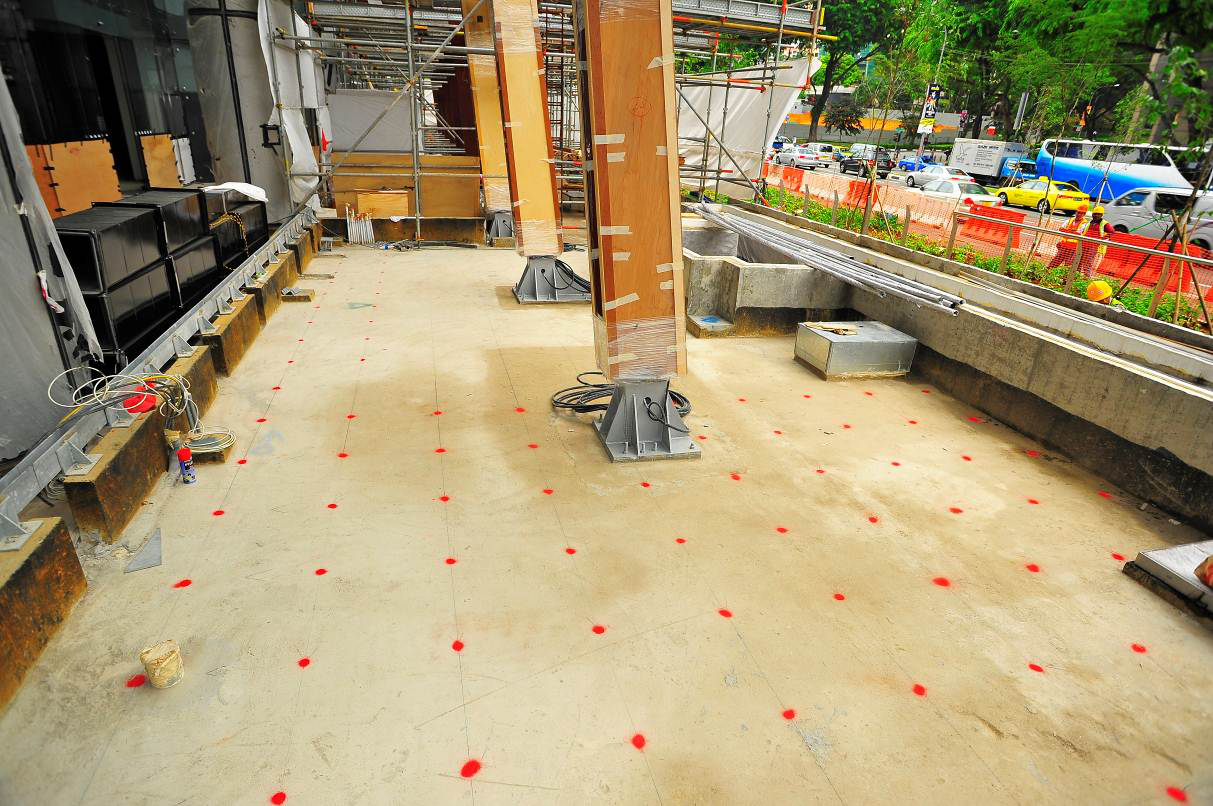
1.1 Mark grid layout by referencing the construction plans
1.2 Make sure to find the slope to drain direction
1.3 Determine the start and completion elevation according to construction plans.
1.4 After subtracting the thickness of wood or stone, marked the elevation at the edge
1.5 Using a laser leveling device or other tools to operate leveler
2°¢Screw and install the product£∫

3°¢Adjust the height
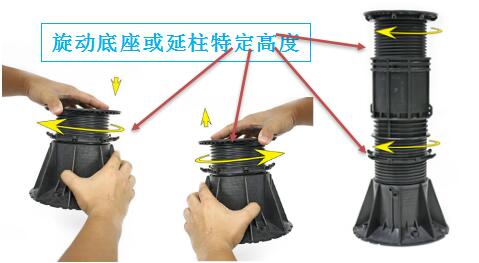
3.1 Screw the base and the head to a fixed height
3.2 Screw—”÷˘to a fixed height

3.3 Screw down and tighten all fix collar to make sure the base is stable and no height displacement
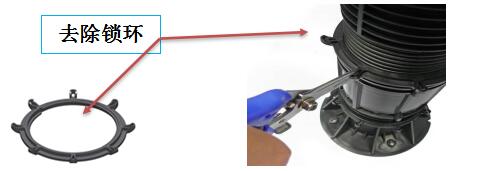
3.4 The fix collar can stabilize the head, extender and the base, but each collar will increase 7.5mm height. If needs to reduce the minimum height, the collar can be taken out by cutting in the U corner and pulling out.
4°¢Micro adjust on height

4.1 Use one or several rubber shims to make micro adjustment to correct the thickness difference.
4.2 If needed, one rubber shim can be split by quartered line and used separately
5°¢Slobe correction

5.1 Compesate the slope and leveling by adjusting the slobe regulator on the top.
5.2 Make sure the yellow mark is in the same position with the angle lock mark
5.3 The slope correction range is 1-5%£¨increase or decrease 1% once a time.
6°¢ Reference elevation unit
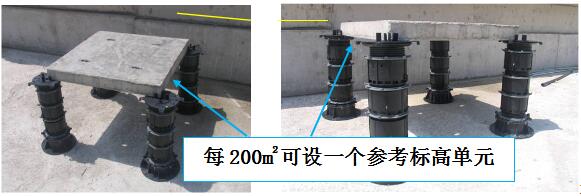
Install a referenced elevation unit every 200m2, put the tiles on four pedestals.
7°¢ Adjust and correct the elevation
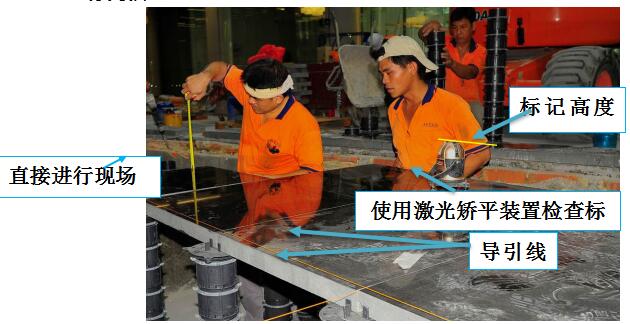
Use laser leveler, automatic leveling instrument, reference elevation unit, guidewire or installation marks separately or together, examine and correct the elevation.
8°¢ Intall the tiles by using tabs

Use shims to micor adjust, and make sure the width of gaps between the tiles are the same.
9°¢ Install the wood decking by joist cradle


10°¢ Installtion methord near wall and coner
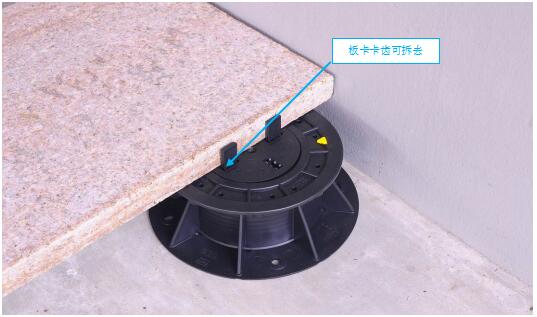
10.1Take out the taps when necessary
10.2Use the spacer without taps above.
11°¢Single extender installation when the loading is more than 0.5t:
Screw the extender and use minimum height and lock all the collars
12°¢Extenders height over 600mm installation£∫
May use our patened beam connection system
13°¢If needs to enhance the stability, please install:
Fill the grouting or cement inside of the pedestals
